Underground drainage looks simple after it is buried. A pipe goes in the ground, water enters one end, and gravity carries it away.
The part homeowners do not see is the math that has to work before the first trench is dug.
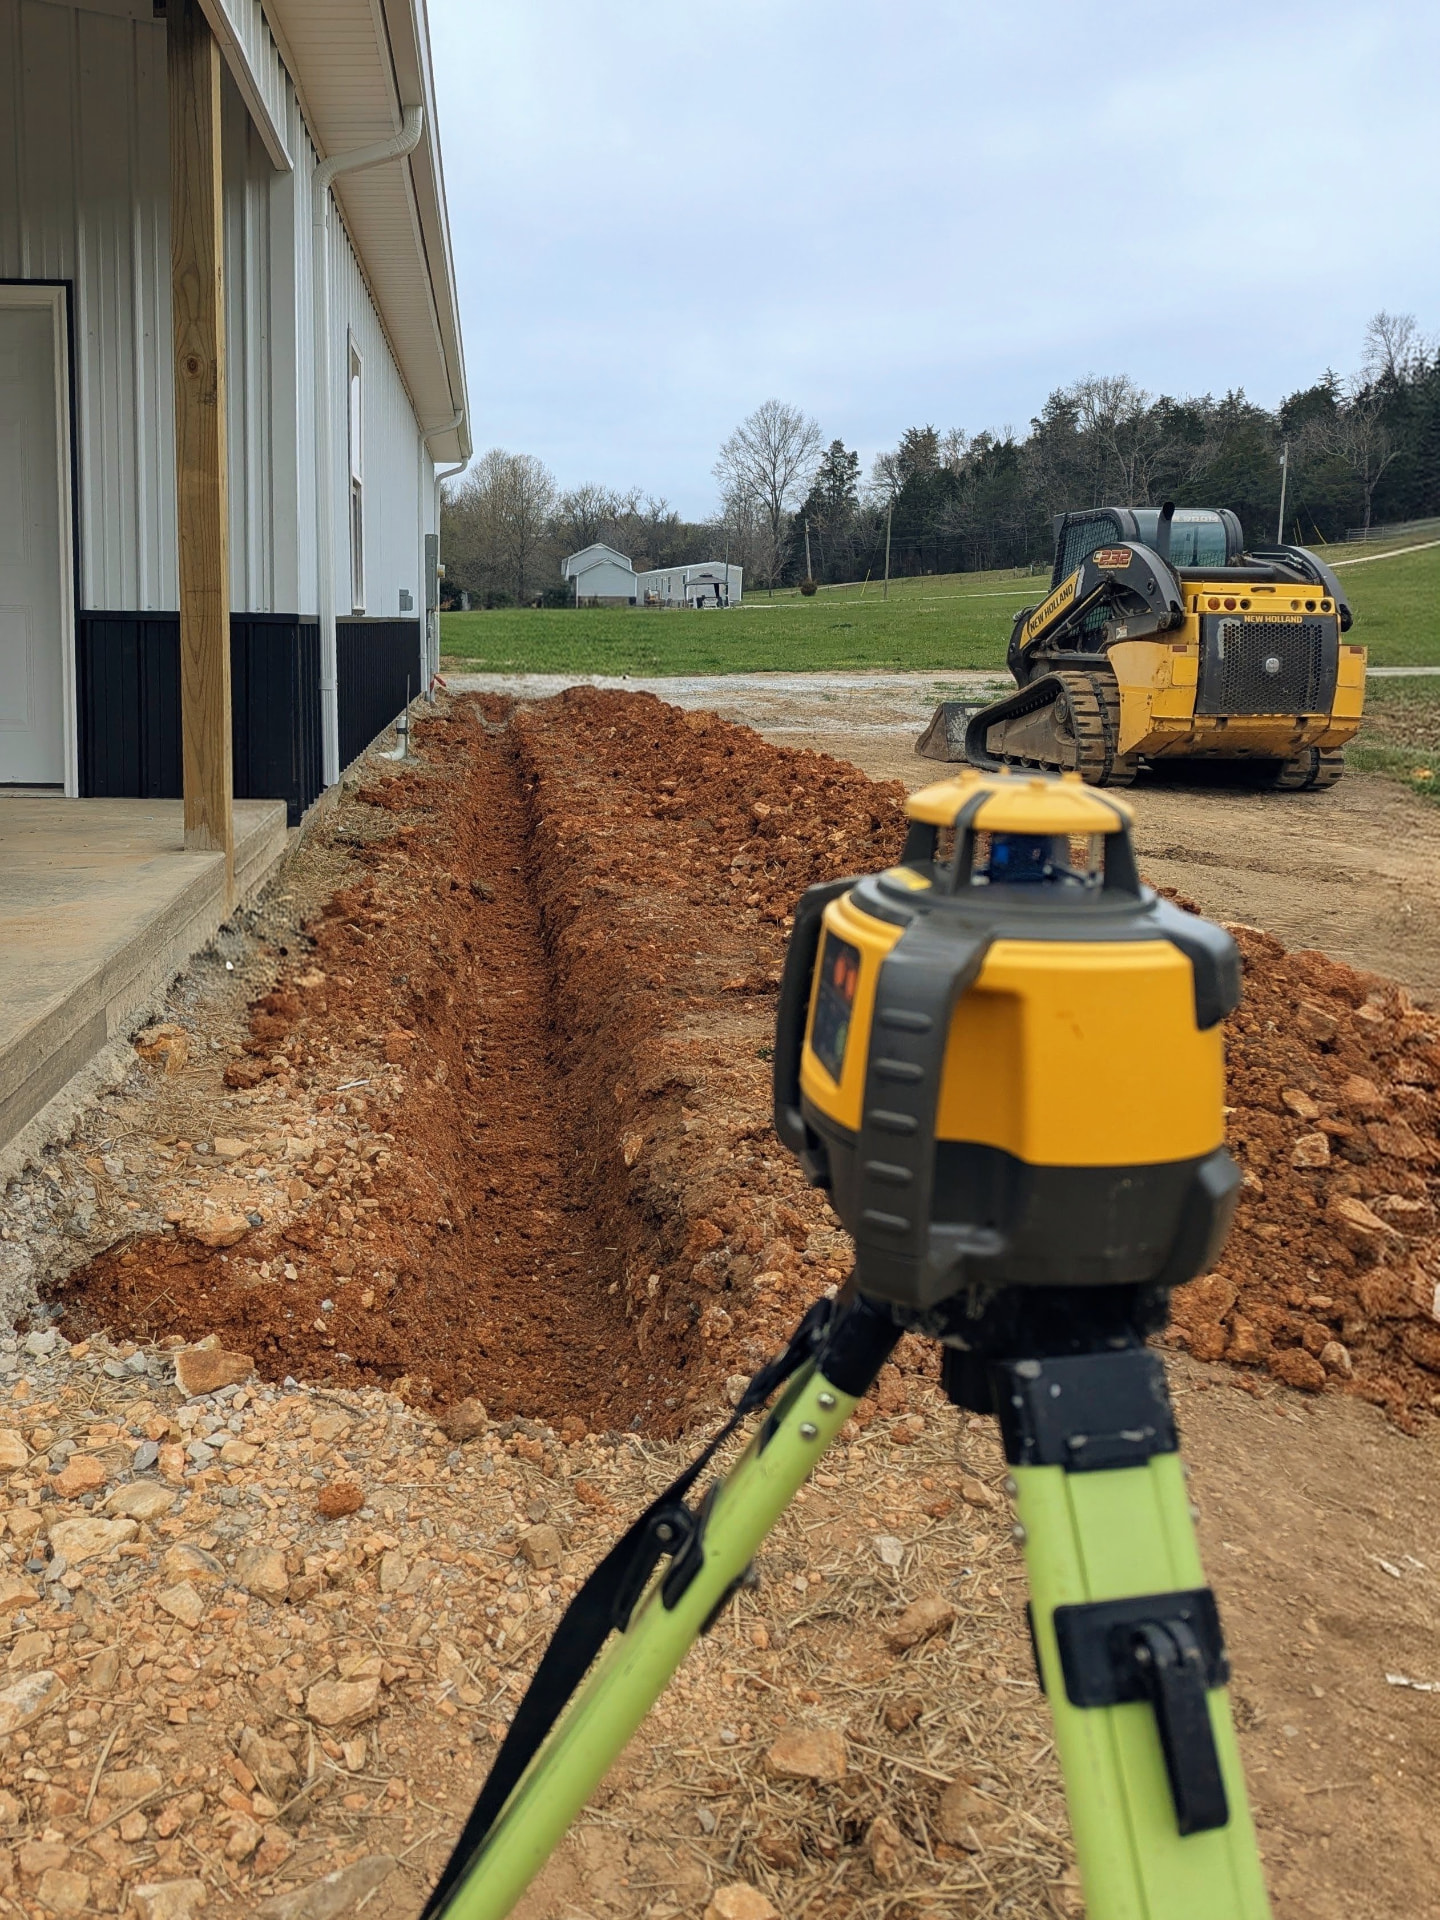
For me, the most important part of a drainage installation is knowing the elevations. Once I know where the water enters, where it can leave, and how much fall the property gives me, I know what kind of system the property will allow.
“Knowing your elevations is the most important part of determining what kind of system the property allows. Math conquers all.”
Start With Elevations and Slope
For residential drainage pipe, I generally try to achieve at least a 1% slope when the property gives me the room.
A 1% slope means approximately 1 foot of fall over 100 feet, or about 1.2 inches every 10 feet.
If reaching that slope means digging deeper through part of a yard or extending the line farther to reach a better outlet, I will usually do it. There are situations where 1% simply is not available, but in my work that is relatively uncommon.
For perspective, larger horizontal plumbing drains are often installed around 1/8 inch of fall per foot, which is roughly 1%. Exterior concrete flatwork is commonly pitched around 1% to 2%, with 1/4 inch per foot equal to roughly 2%.
The point is not that every drainage system needs the same slope. The point is that slope is measurable, and it directly affects how the system performs.
Pipe Size Is Only Part of the Equation
Diameter matters, but diameter alone does not determine how much water a pipe can carry.
Flow rate is affected by:
- Pipe diameter
- Pipe slope
- Pipe material
- Interior roughness
- Fittings and turns
- Inlet restrictions
- Outlet restrictions
A smooth-wall pipe will generally move more water than a corrugated pipe of the same diameter at the same slope because the interior ridges of corrugated pipe create additional resistance.
Increasing the slope also increases the amount of water the pipe can move.
That is why I do not use one universal gallons-per-minute number for every 4-inch or 6-inch pipe. The entire installation has to be considered.
If you are sizing a drainage system for a DIY project, first estimate how much runoff may be entering the system. See the CANDO Knowledge Center article Stormwater Flow Rate Estimate for a simple way to estimate gallons per minute from contributing area and rainfall intensity.
Choosing Pipe for Residential Work
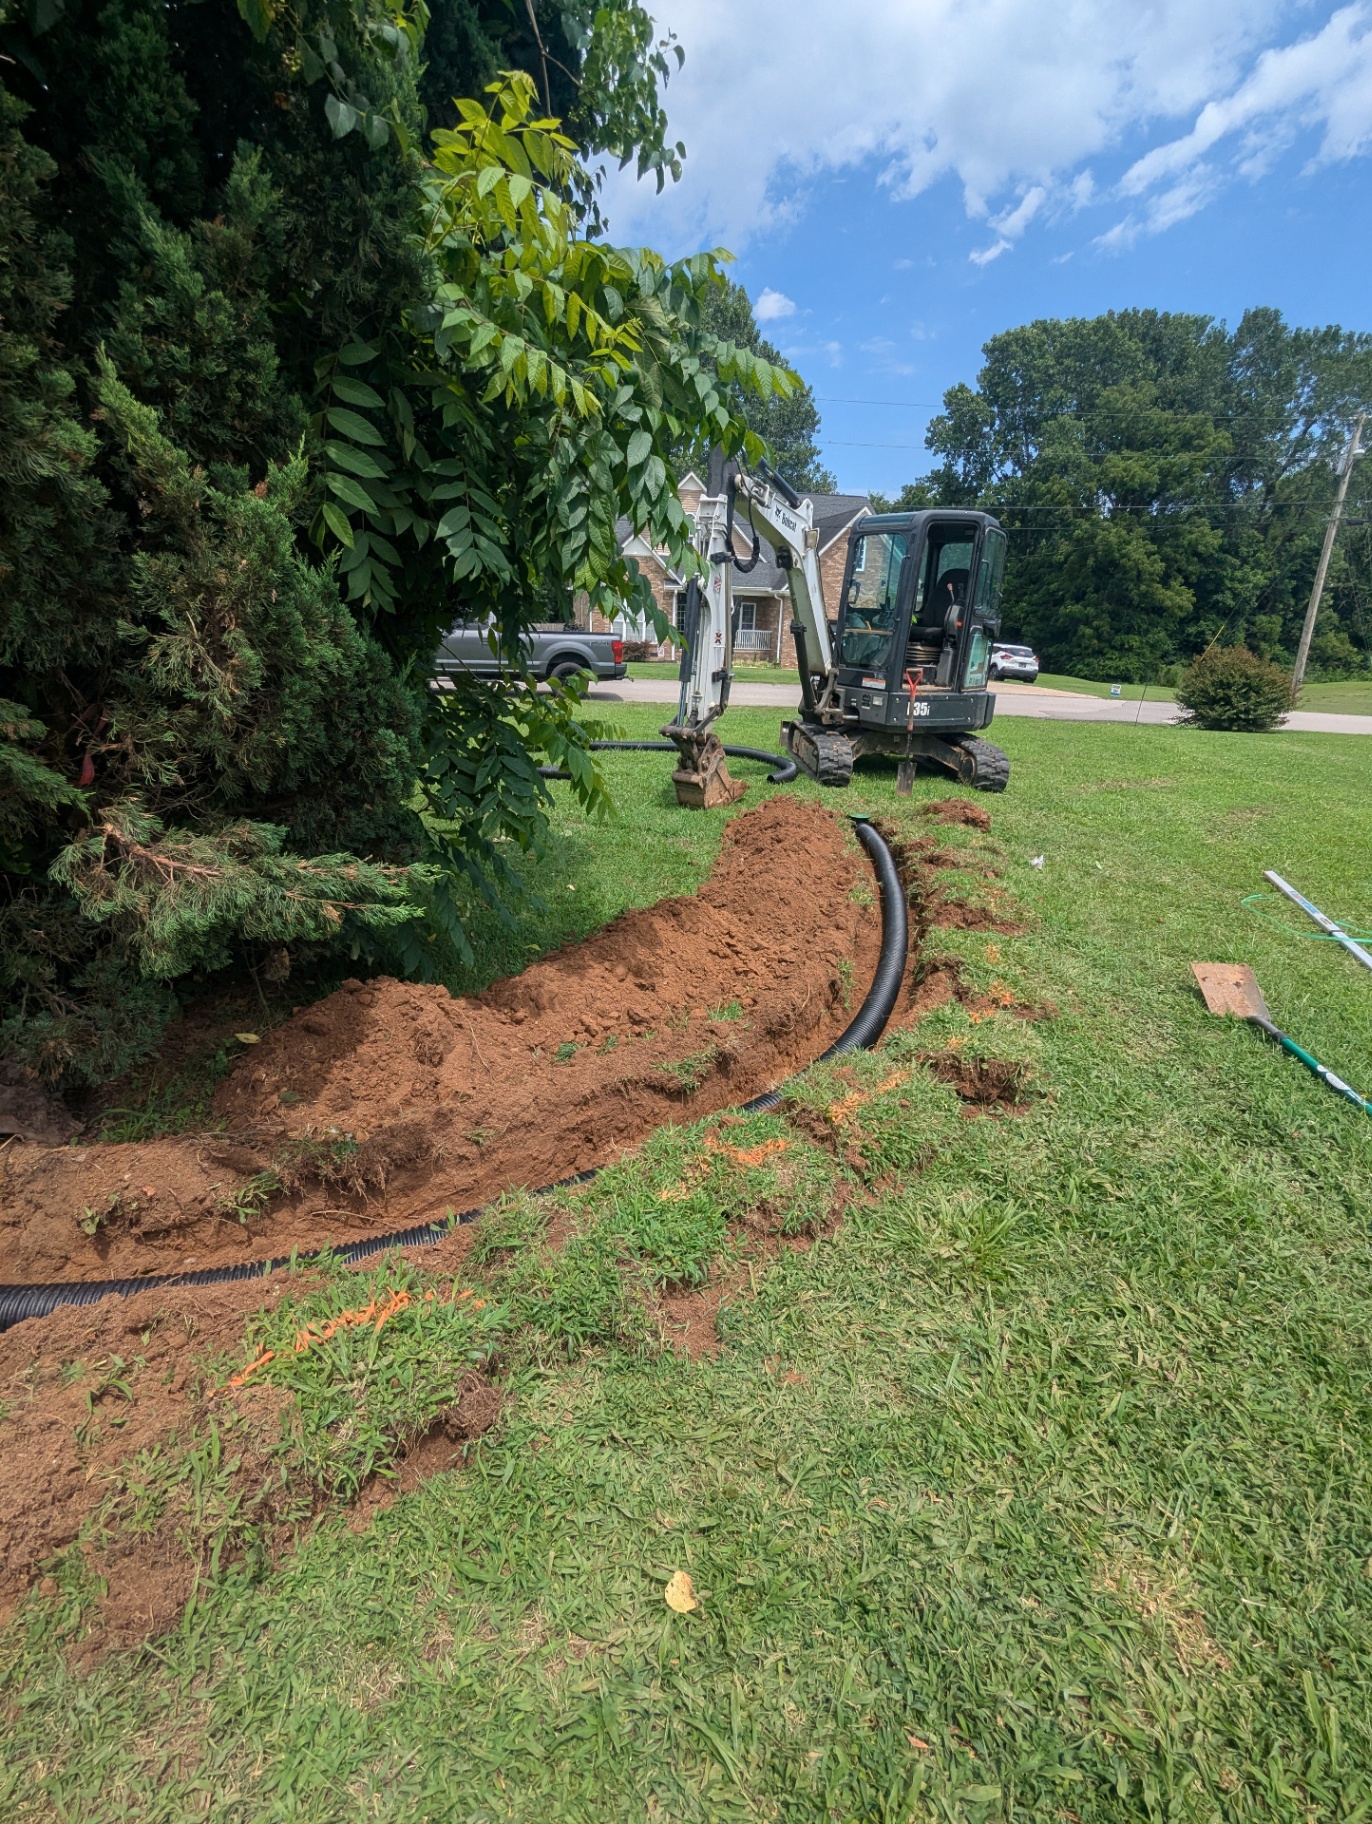
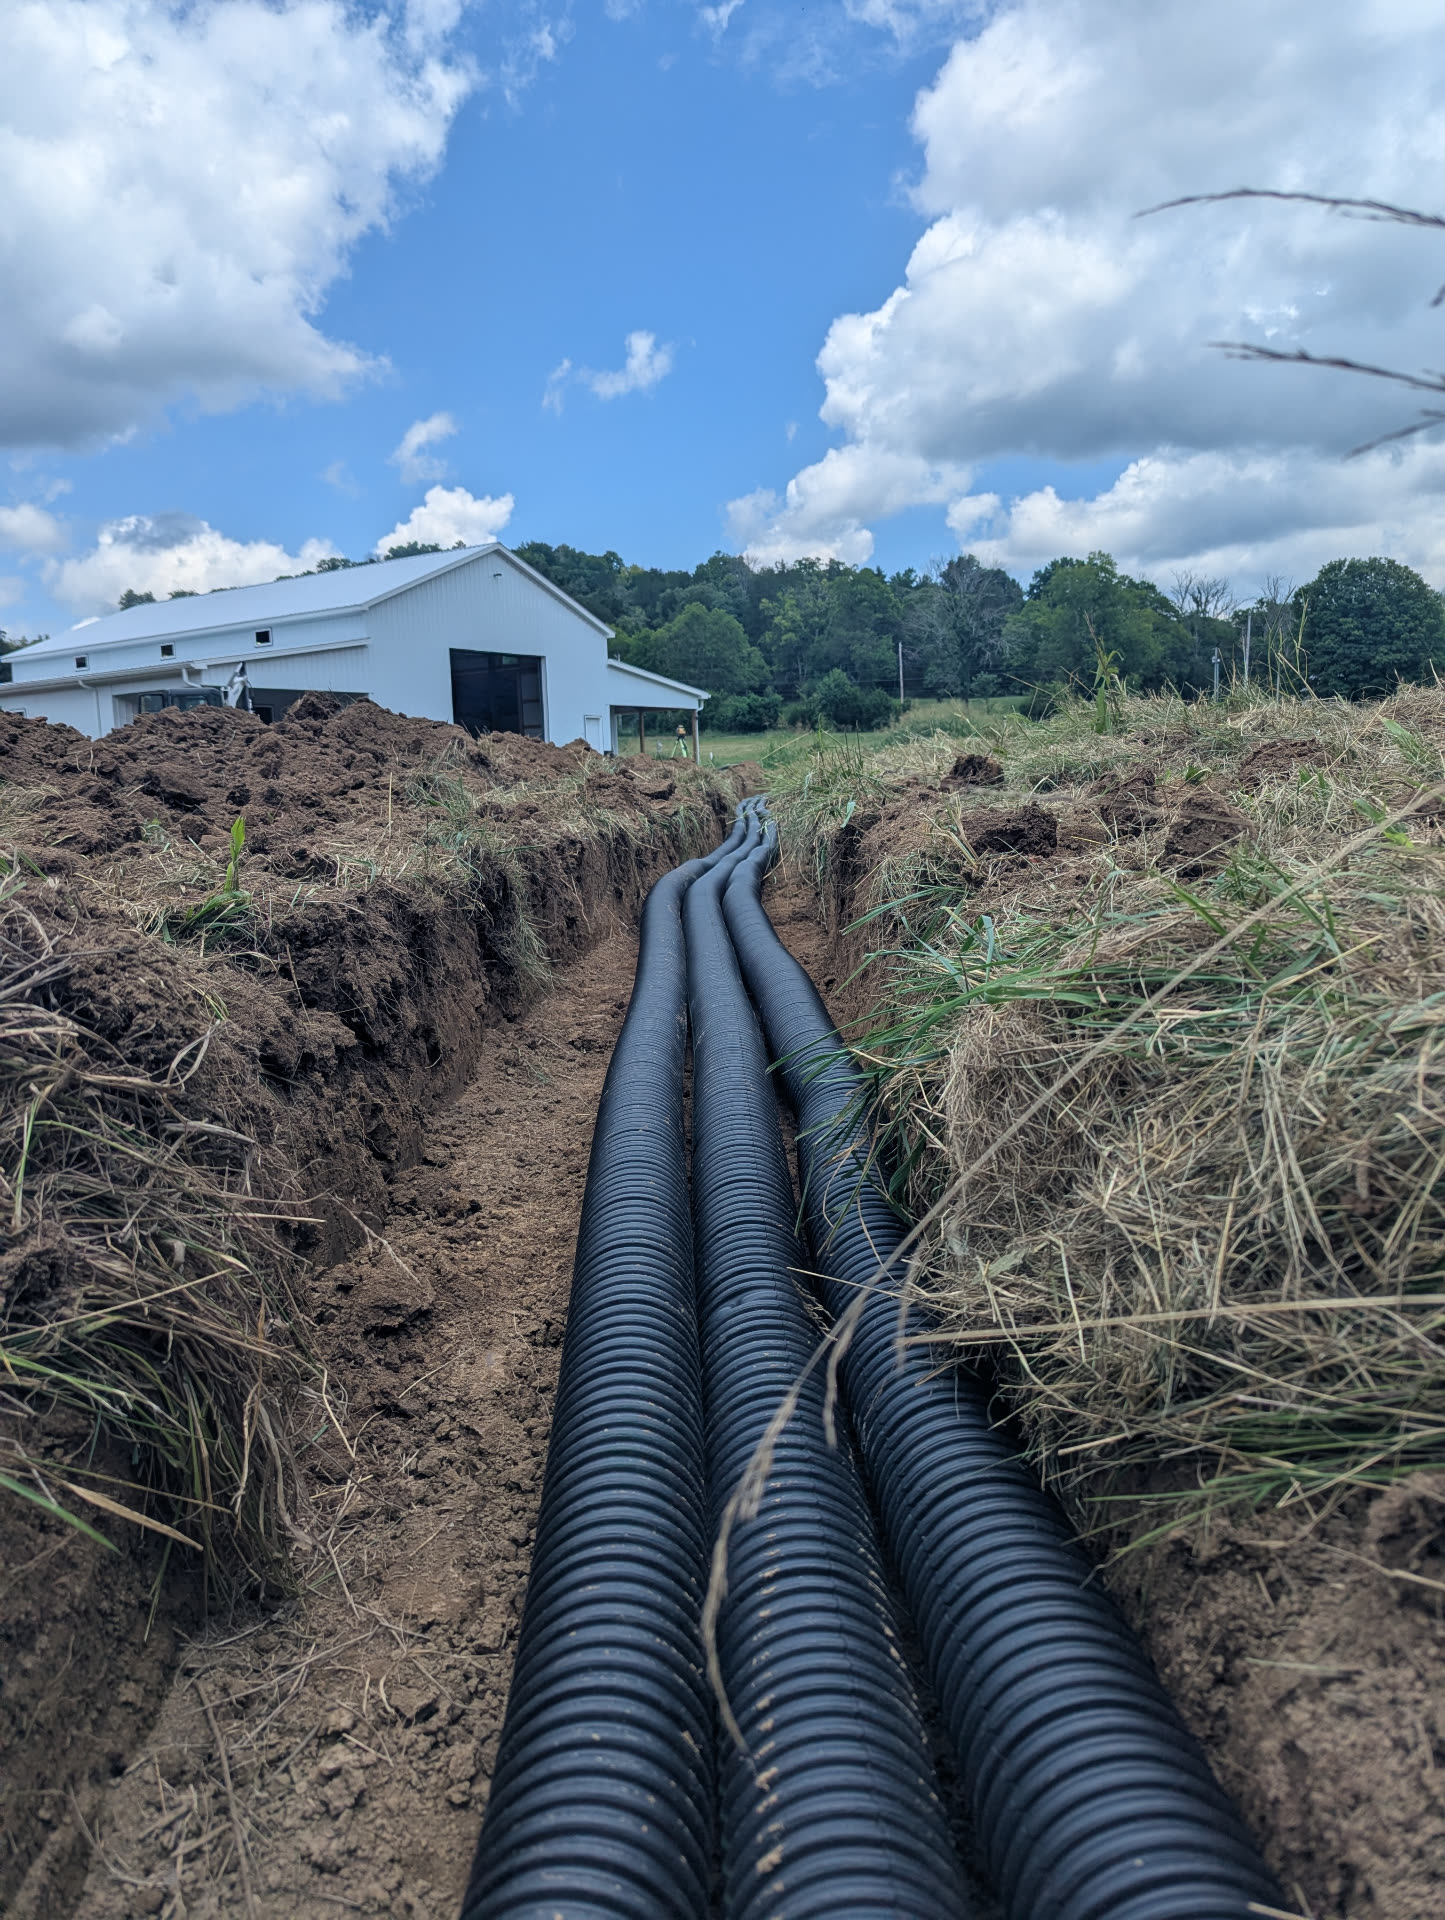
For most residential drainage work, I commonly use solid corrugated pipe.
It is affordable, easy to work with around existing homes and landscaping, and stronger than many homeowners expect when it is installed and backfilled correctly.
The important part is how it is buried.
I generally try for approximately one foot of cover when the site allows it. I also avoid dropping large rock directly onto the pipe. Softer soil placed around and over the pipe helps distribute pressure around it instead of creating concentrated pressure points.
In areas where I want a rigid smooth-wall pipe — especially under concrete or where longevity and future cleanout are important — I may use SDR-35 or sewer-and-drain pipe.
One homeowner mistake I see regularly is using the thin accordion-style all-in-one gutter extension pipe as a permanent buried system. It is much lighter-duty than the drainage pipe I normally install, and exposed sections can deteriorate over time.
Avoid Choke Points
A drainage system is only as capable as its smallest restriction.
If a 4-inch pipe is connected through a 3-inch fitting, that restriction matters. The same principle applies to undersized adapters, restrictive grates, fittings, or outlets.
Even a 90-degree fitting adds some resistance to the system.
I try hard not to unnecessarily choke a drainage line anywhere between the inlet and the outlet.
Catch basins should also have enough intake area to feed the pipe. I generally prefer an inlet that provides substantially more collection area than the pipe opening itself rather than restricting the system right at the beginning.
Set Catch Basins Where Water Wants to Go
A catch basin placed in a low area should not simply sit flat with the surrounding yard.
I prefer the basin slightly depressed with a shallow bowl formed around it. That gives runoff a reason to enter the basin instead of moving fast enough to skip across the grate.
That shallow depression also provides a small amount of temporary storage if water reaches the basin faster than the underground pipe can carry it away.
The best underground pipe in the world cannot help if the water never enters the inlet.
Think About the Outlet Before You Dig
My preferred outlet, when the property allows it, is a horizontal daylight discharge.
It is simple and has very little restriction. But daylighting also has to be planned correctly. An exposed outlet can be damaged by mowing, crushed, clogged, or become an erosion point if the surrounding area is not protected.
Stone, block, concrete, or another stable material may be appropriate around the outlet depending on the site.
I am generally not a fan of putting a fixed grate over the end of a discharge pipe. Leaves, dirt, roof granules, and other debris that make their way through the system need somewhere to escape.
When daylighting is not practical, a pop-up emitter can be a good residential option in my experience.
The emitter should be well backfilled and stabilized. Erosion can develop around an outlet surprisingly quickly, especially with larger systems. I often like stone around higher-volume outlets, including larger pop-up emitters, to help support the area and spread the discharge.
Popup emitters should also receive an occasional visual inspection to make sure they remain free and functional.
How Can Water Travel Up Through a Pop-Up Emitter?
Homeowners ask me this often.
The final fitting may turn upward from below grade, but gravity is still doing the work.
What matters is the relationship between the entrance elevation and the outlet elevation. If the outlet is lower than the point where the water enters the system, water can rise through that final elbow and discharge.
Ideally, the pipe itself maintains positive slope throughout the run.
There are situations where the overall elevation difference is extremely small. Even an inch of total difference can technically allow water to drain, but that is not my preferred design.
If a small section of pipe cannot completely drain after the storm, I may use a short perforated section with stone near the outlet when the site conditions make that appropriate, allowing residual water to slowly dissipate after the rain.
Cleanouts and Maintenance
I do not automatically install cleanouts on every long residential run, although they are an option.
In my experience, when a drainage line develops a blockage, the problem is often near the outlet where debris collects or where the discharge becomes restricted.
That is another reason I want the exit point accessible and easy to inspect.
A simple inspection of catch basins, popup emitters, exposed outlets, and downspout connections once in a while can prevent a small issue from becoming a larger one.
When the Math Gets Tight
Homeowners can absolutely install their own drainage systems when they understand the elevations, slope, flow requirements, and outlet.
But underground drainage is a lot of physical work, and small elevation errors become expensive once the pipe is buried.
If the math does not work, there is usually still a solution. Sometimes that solution requires a deeper trench, a longer run, larger pipe, a different outlet, additional collection points, or a system that is more involved than the homeowner originally expected.
When the available fall is extremely tight, that is where experience and accurate elevation work become much more important.
Know the elevations. Calculate the water. Size the pipe. Protect the inlet and outlet. Then dig.