
CANDO Project Center · Spring Hill, Tennessee
Stormwater Diversion, Berm Construction & Raised Driveway in Spring Hill, TN
Upstream stormwater redirected with a raised #57 stone driveway crossing, approximately 150 feet of protective berm, and precise interior grading.
- Location
- Spring Hill, Tennessee
- Project Type
- Residential Stormwater Diversion & Grading
- Driveway Reconstruction
- Approximately 60 ft
- Earthen Berm
- Approximately 150 ft total
- Soil Placed
- Approximately 70 cubic yards
- Stone Used
- Approximately 55 tons
- Berm Stabilization
- Tall fescue with double-sided straw erosion-control blanket
This Spring Hill, TN home sits at the bottom of a hill. Stormwater runs downhill from the neighborhood behind the house, crosses the property, and moves toward the home. The drainage situation had gotten bad enough that the homeowners had water coming into the house. I look at the whole property's water path before I recommend anything — estimating how much stormwater a property actually receives is a big part of that evaluation.
The right fix here wasn't one product. It was shaping the property so that outside water is stopped and diverted before it reaches the house — and so that the water generated inside the property line still has a clean way out.
Understanding the Existing Water Path
The first thing I always do is trace where the water is actually coming from and where it wants to go. In this case, stormwater coming down from the neighborhood behind the home was crossing the property and draining down the side yard toward the house.
We also coordinated with the City of Spring Hill on stormwater overflow, since a portion of the flow moves through the property on its way out of the neighborhood.
Building the Berm to Divert Outside Water
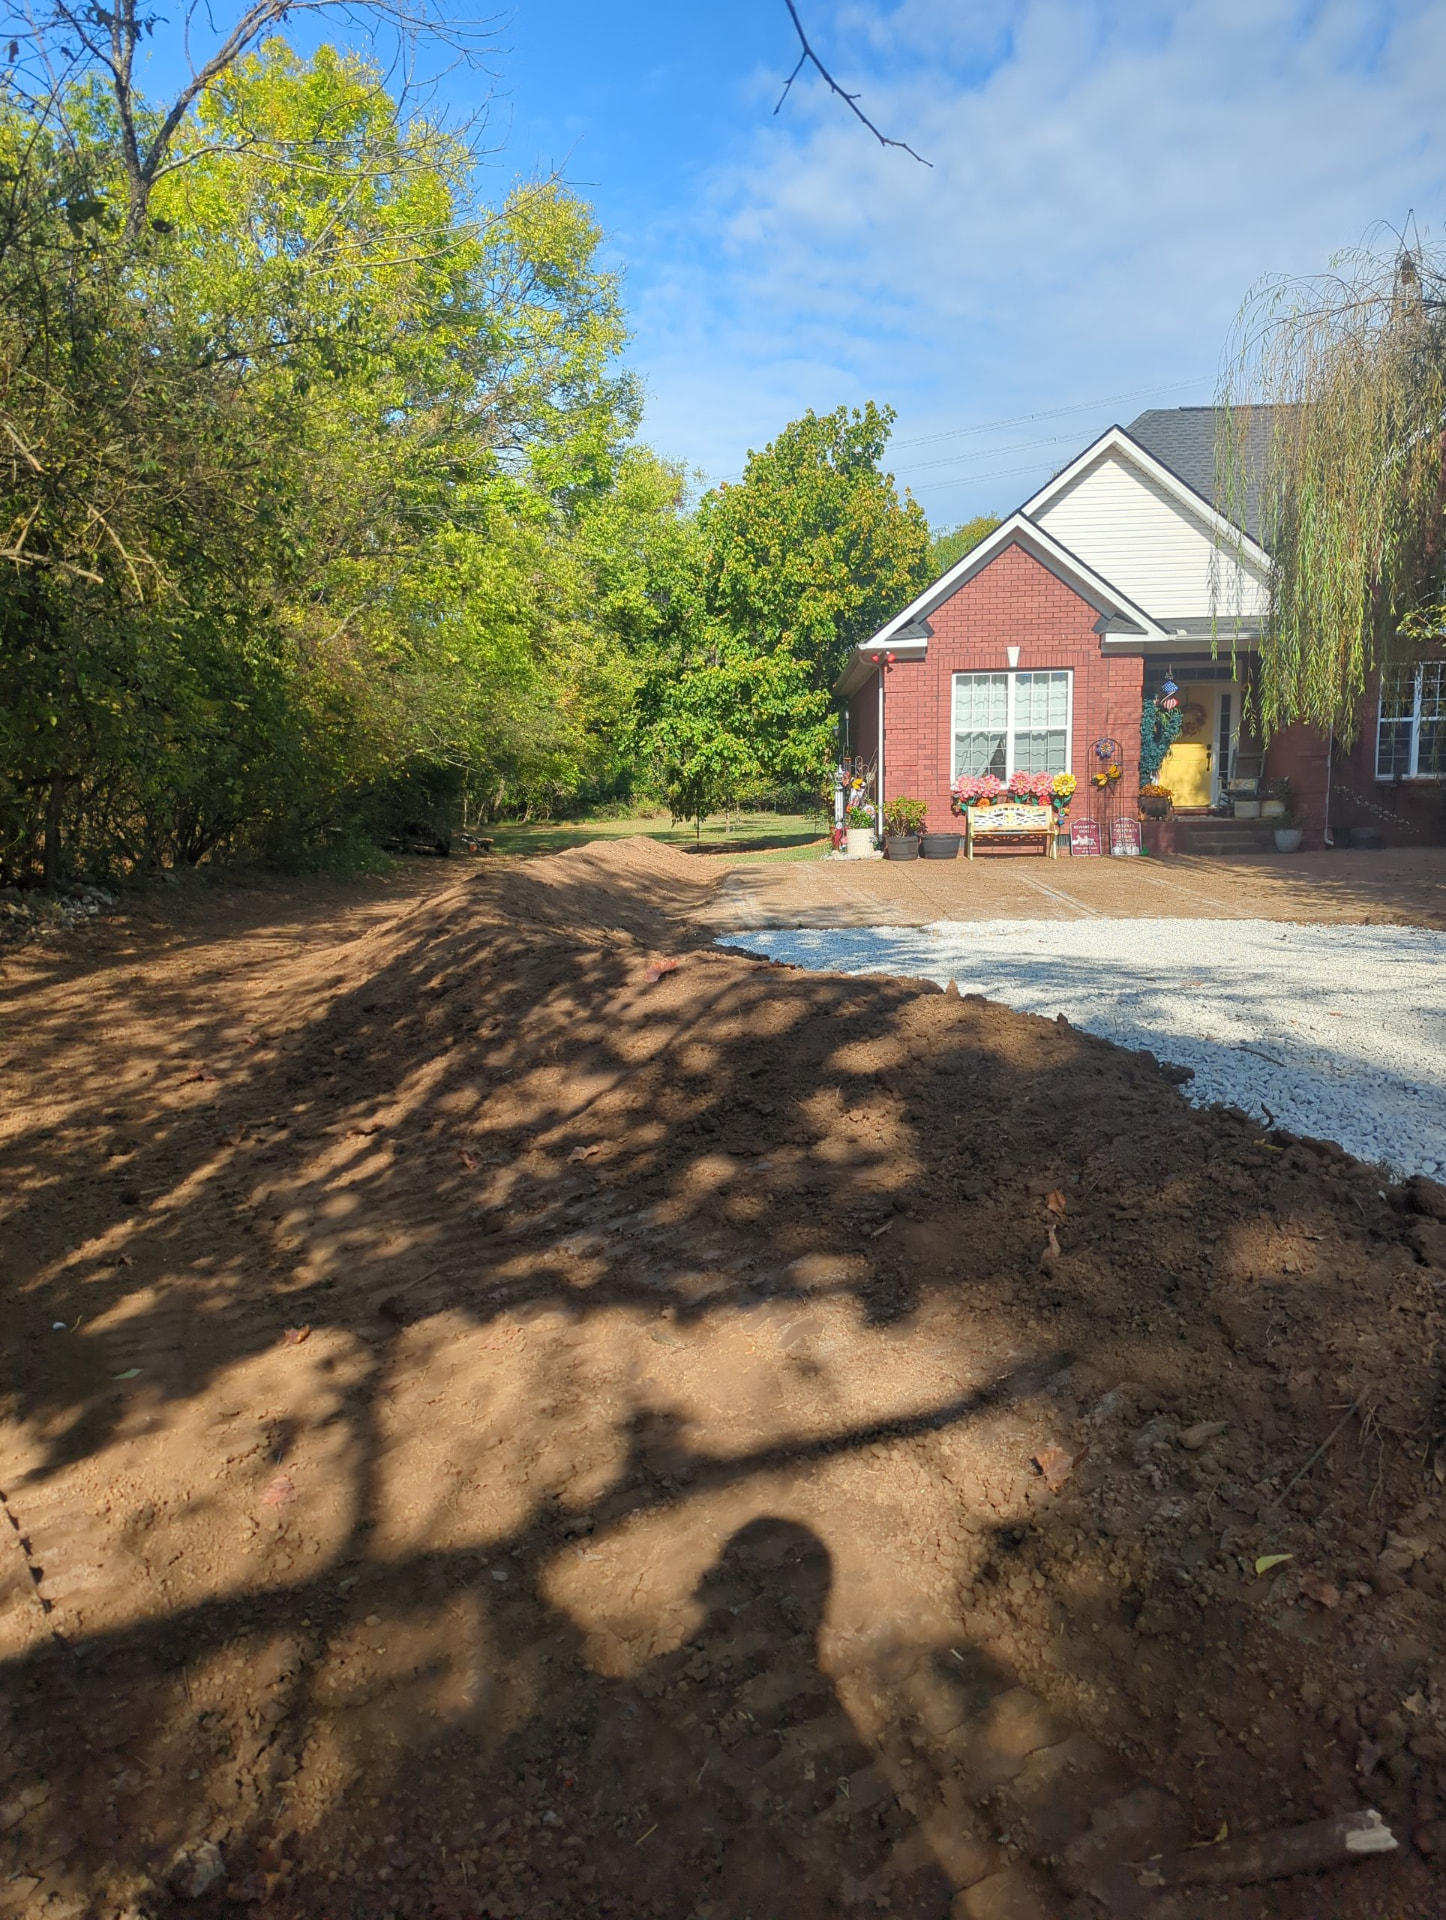
We constructed an earthen berm along the back property line and down both sides. All told, there is approximately 150 feet of berm — roughly 75 feet on each side of the driveway.
The berm's purpose is to catch and divert the stormwater coming from the neighboring property before it can reach the house. Instead of letting it cut across the yard and run down toward the home, the berm gives that water a defined path around the property line side.
Moving that much earth takes real material. We placed approximately 70 cubic yards of topsoil to build the berm and correct the surrounding grades.
Turning the Driveway Into Part of the Drainage Solution
The driveway itself was part of the problem. It crossed the low ground where stormwater wanted to travel, and it wasn't built to stand in that path.
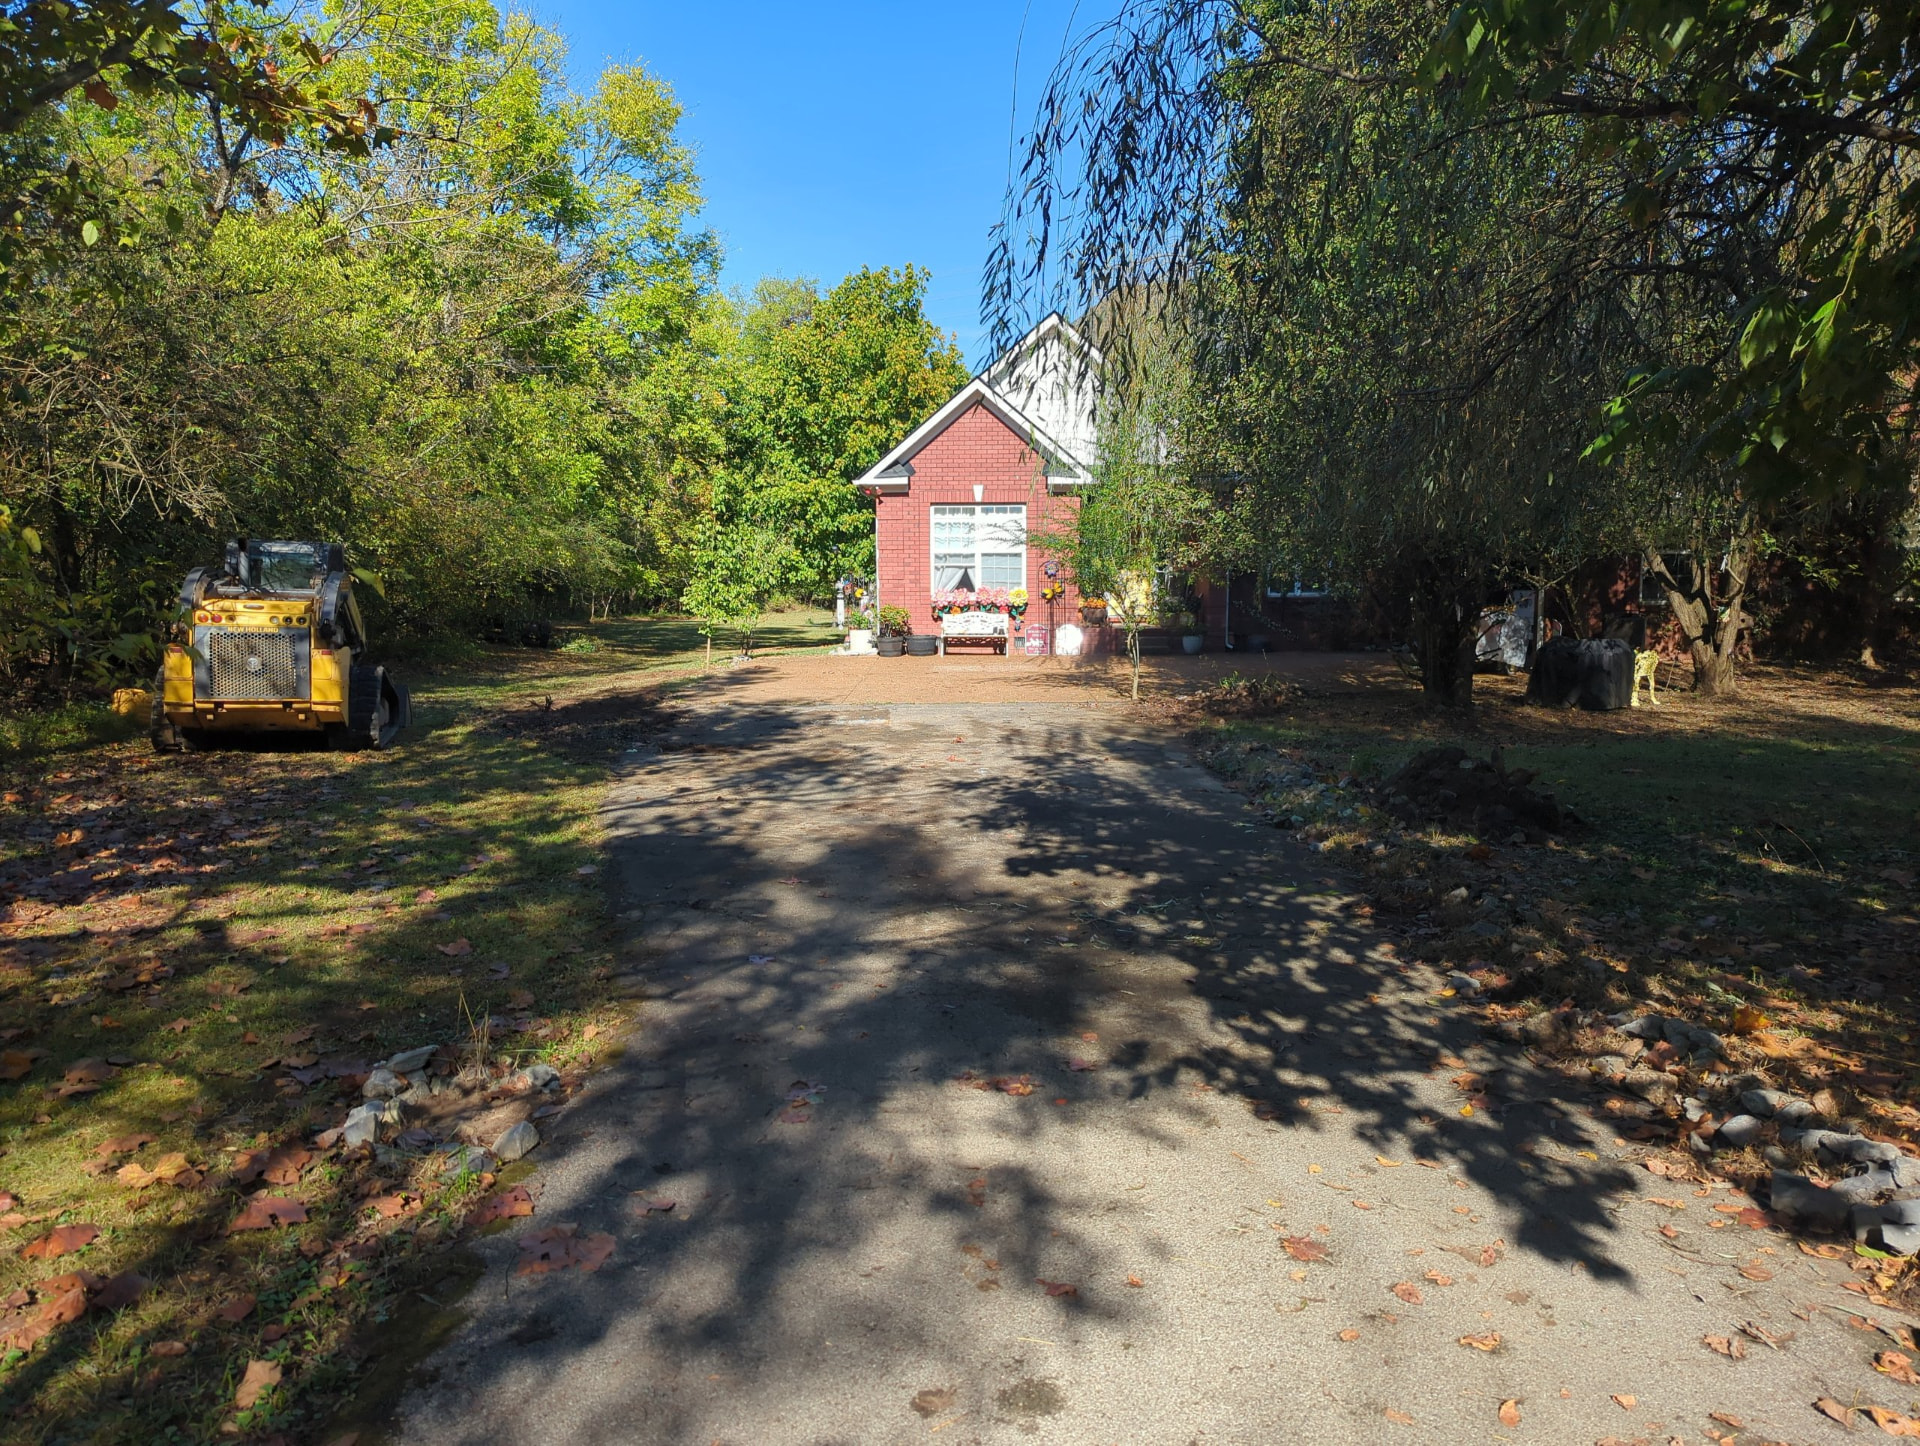
We reconstructed approximately 60 feet of driveway as a raised crossing — built up to act as the high point that stormwater is diverted around, instead of a low spot it ponds against. The center of the driveway was raised roughly two feet, and the grades were kept below approximately 8 percent so it stays practical to drive.
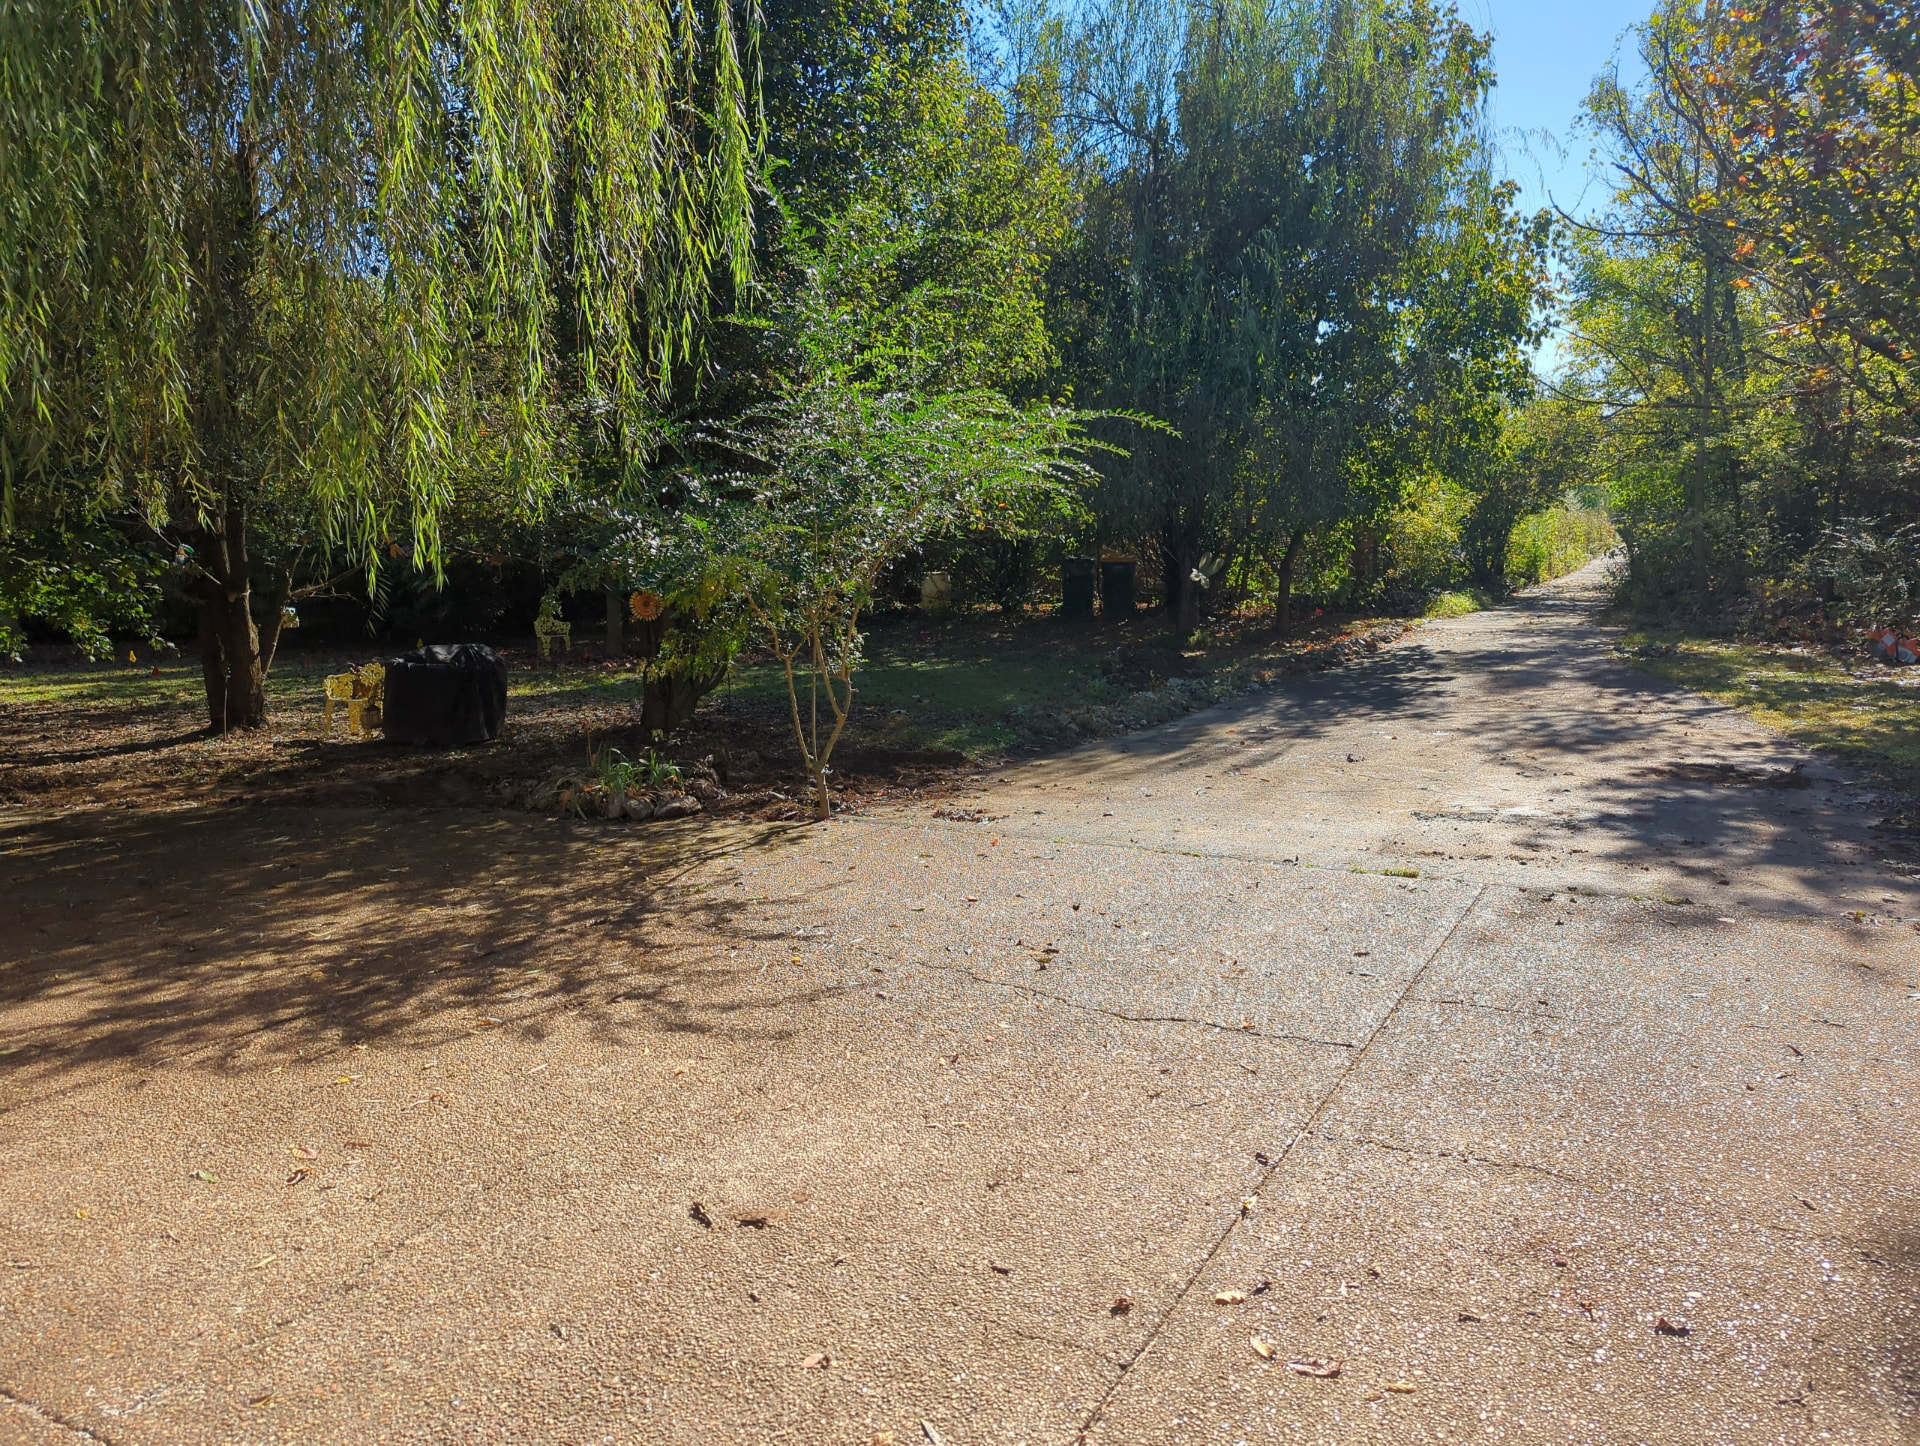
We used approximately 55 tons of stone to build the raised crossing and finish the surface. The driveway was finished with approximately 2 inches of #57 stone over a compacted base, prepared for the homeowner's future concrete driveway.
Approximately 150 Feet of Protective Berm
The berm wasn't just a pile of dirt at the back line. It was shaped to tie directly into the raised driveway at its high point, so water coming down the neighboring slope hits the berm-and-driveway line and is routed around the property instead of through it.
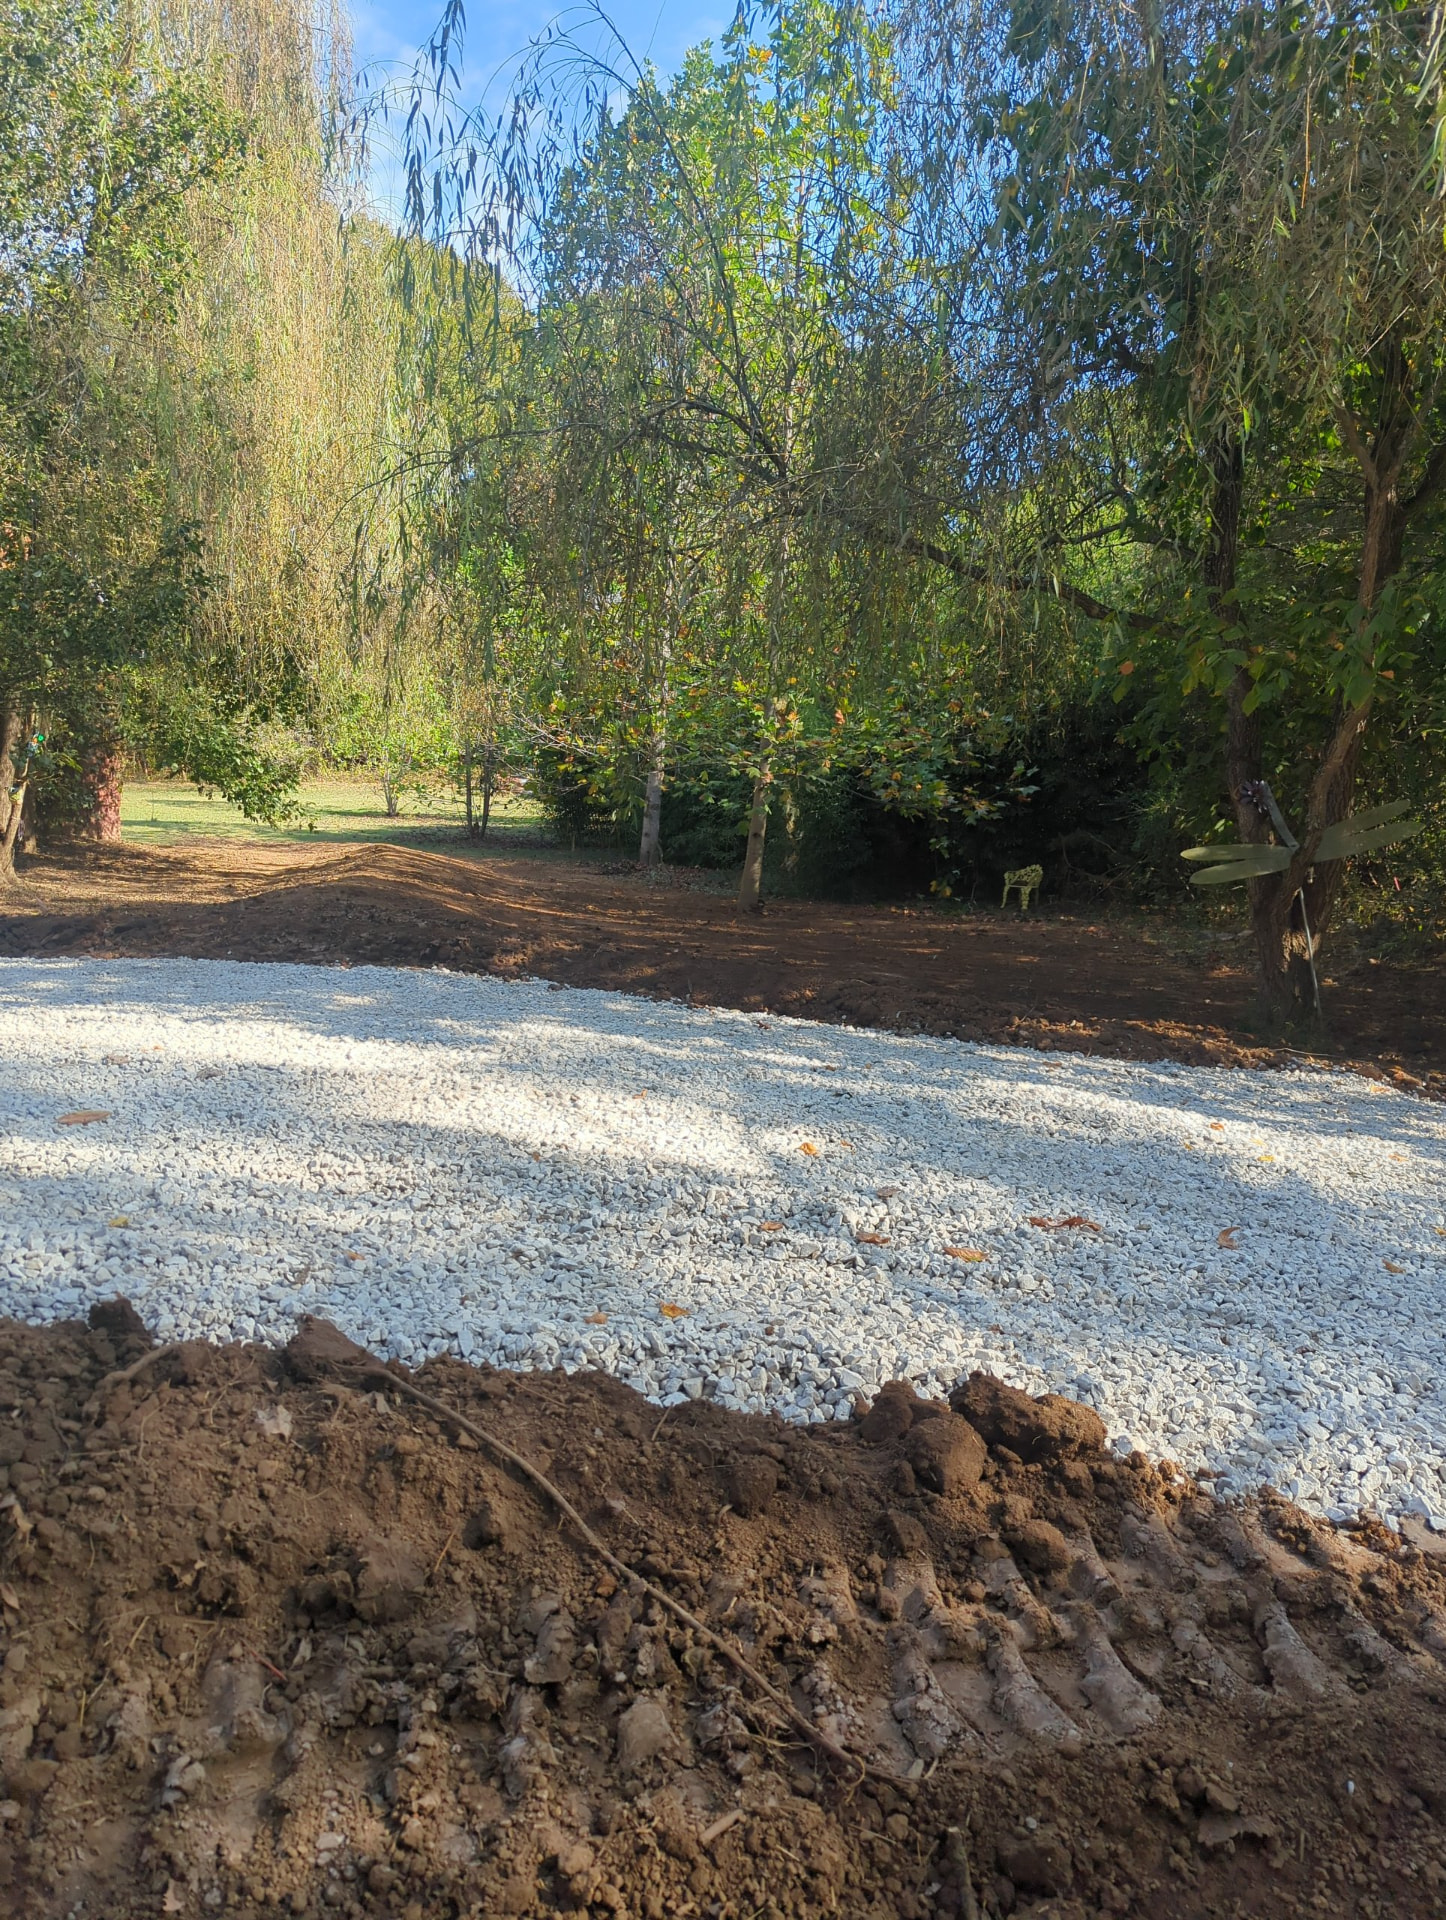
Because a bare soil berm erodes fast in Tennessee rain, we seeded it with tall fescue and covered it with a double-sided straw erosion-control blanket to hold everything in place while the grass establishes. If your slope is washing out, that same combination is what I typically recommend for erosion control on newly graded ground.
Building the Raised Driveway the Right Way
A raised driveway crossing can be done badly — a short, sharp hump that scrapes your bumper and still lets water through at the edges. We stretched the driveway through a long vertical transition instead, so the climb is gradual and the crown lines up with the berm.
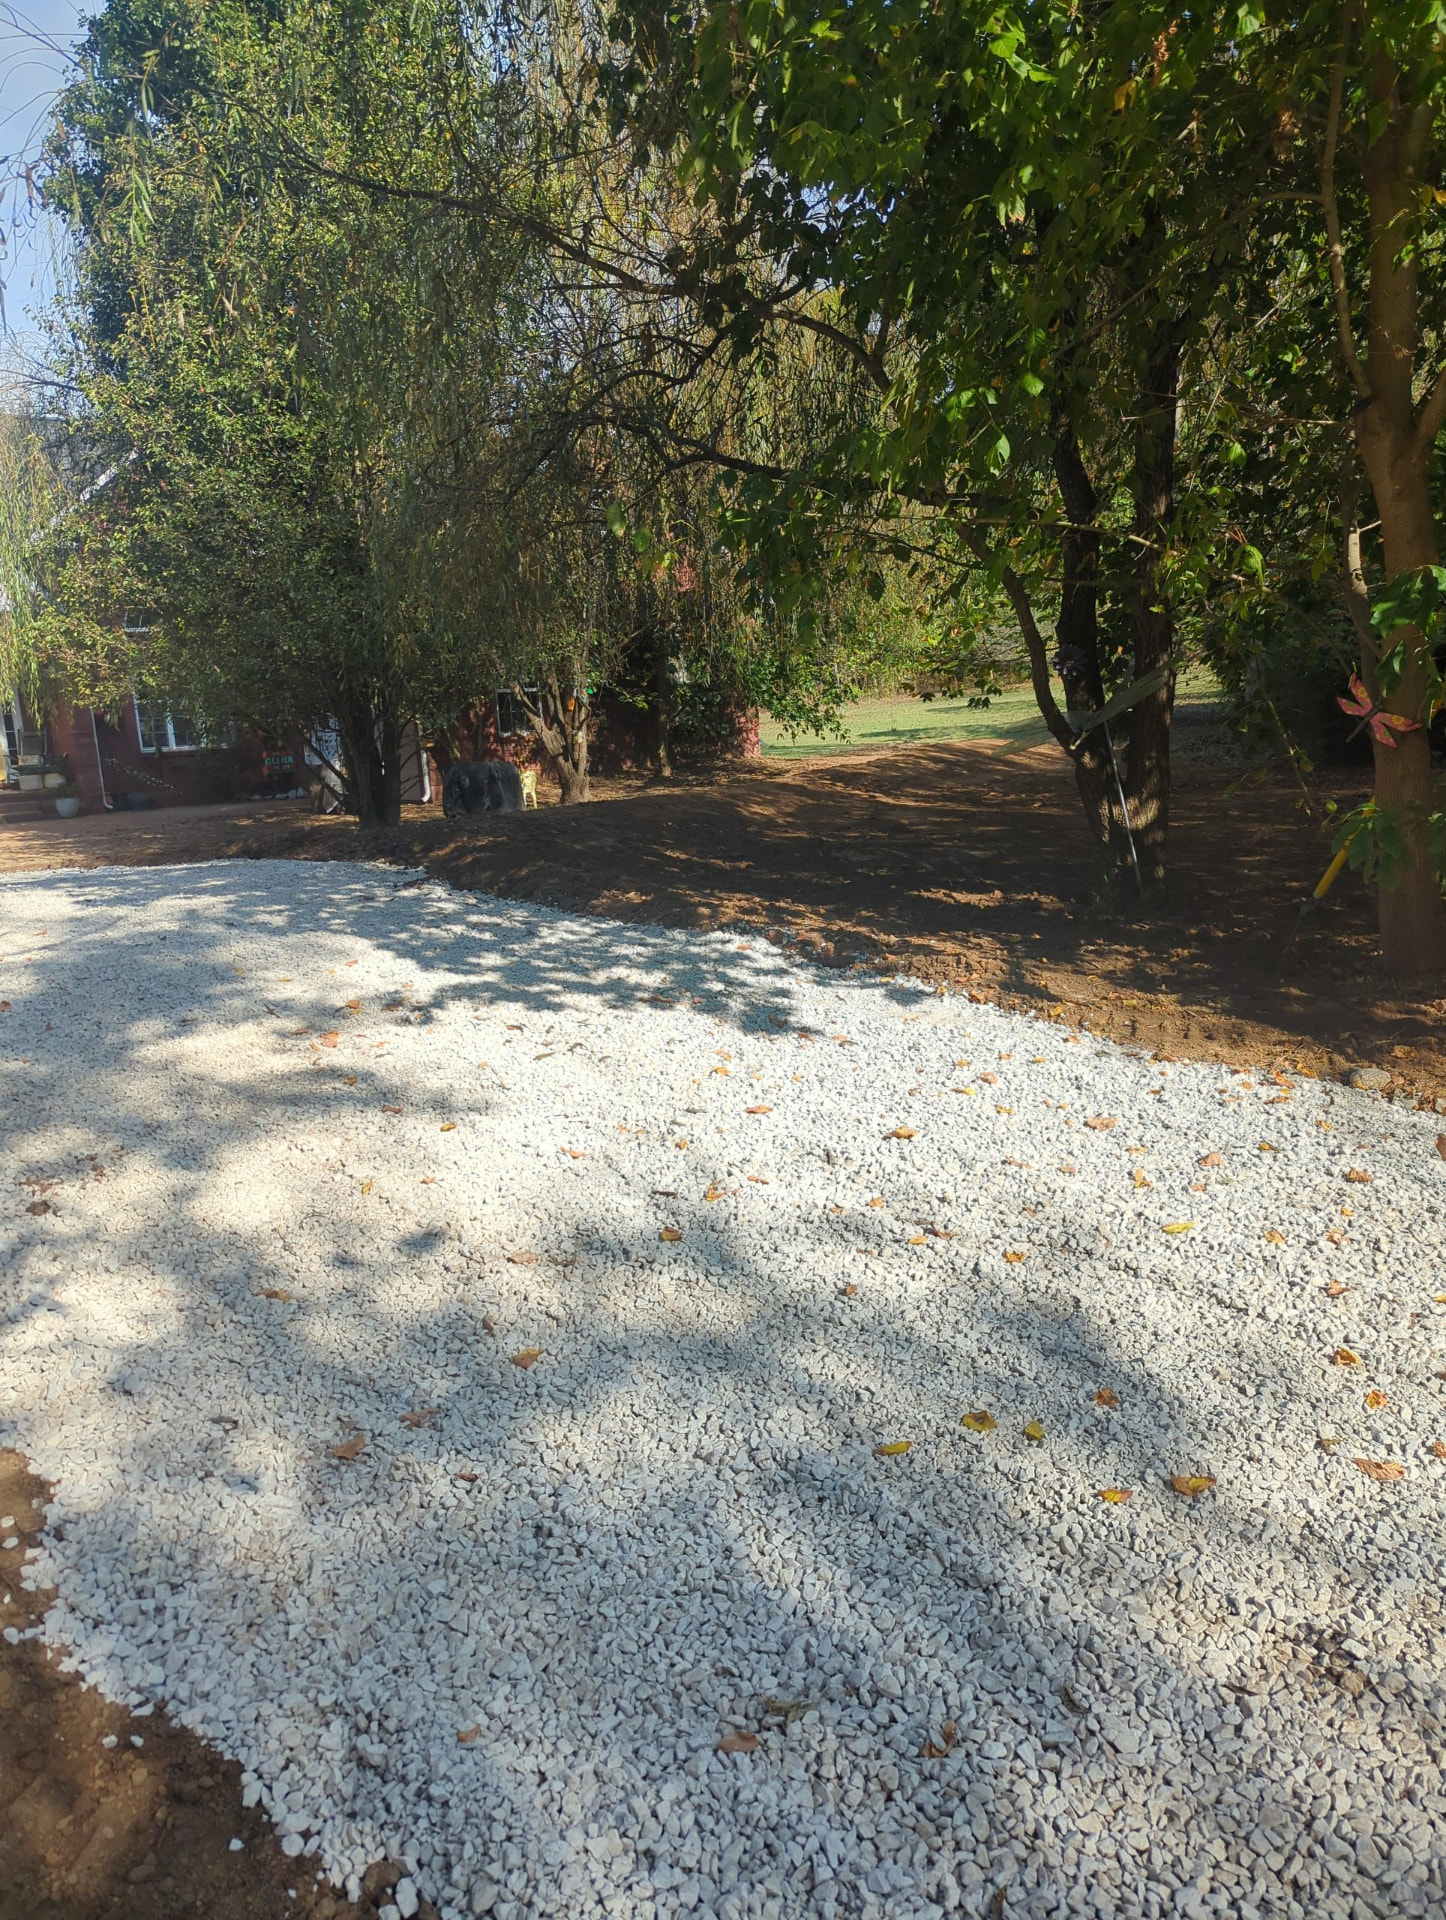
The finished surface is #57 stone over a compacted base, ready for concrete when the homeowner is ready to pour it. If you're planning something similar, driveway installation and repair is one of our core services — and building it as part of the property's drainage plan is exactly how I prefer to do it.
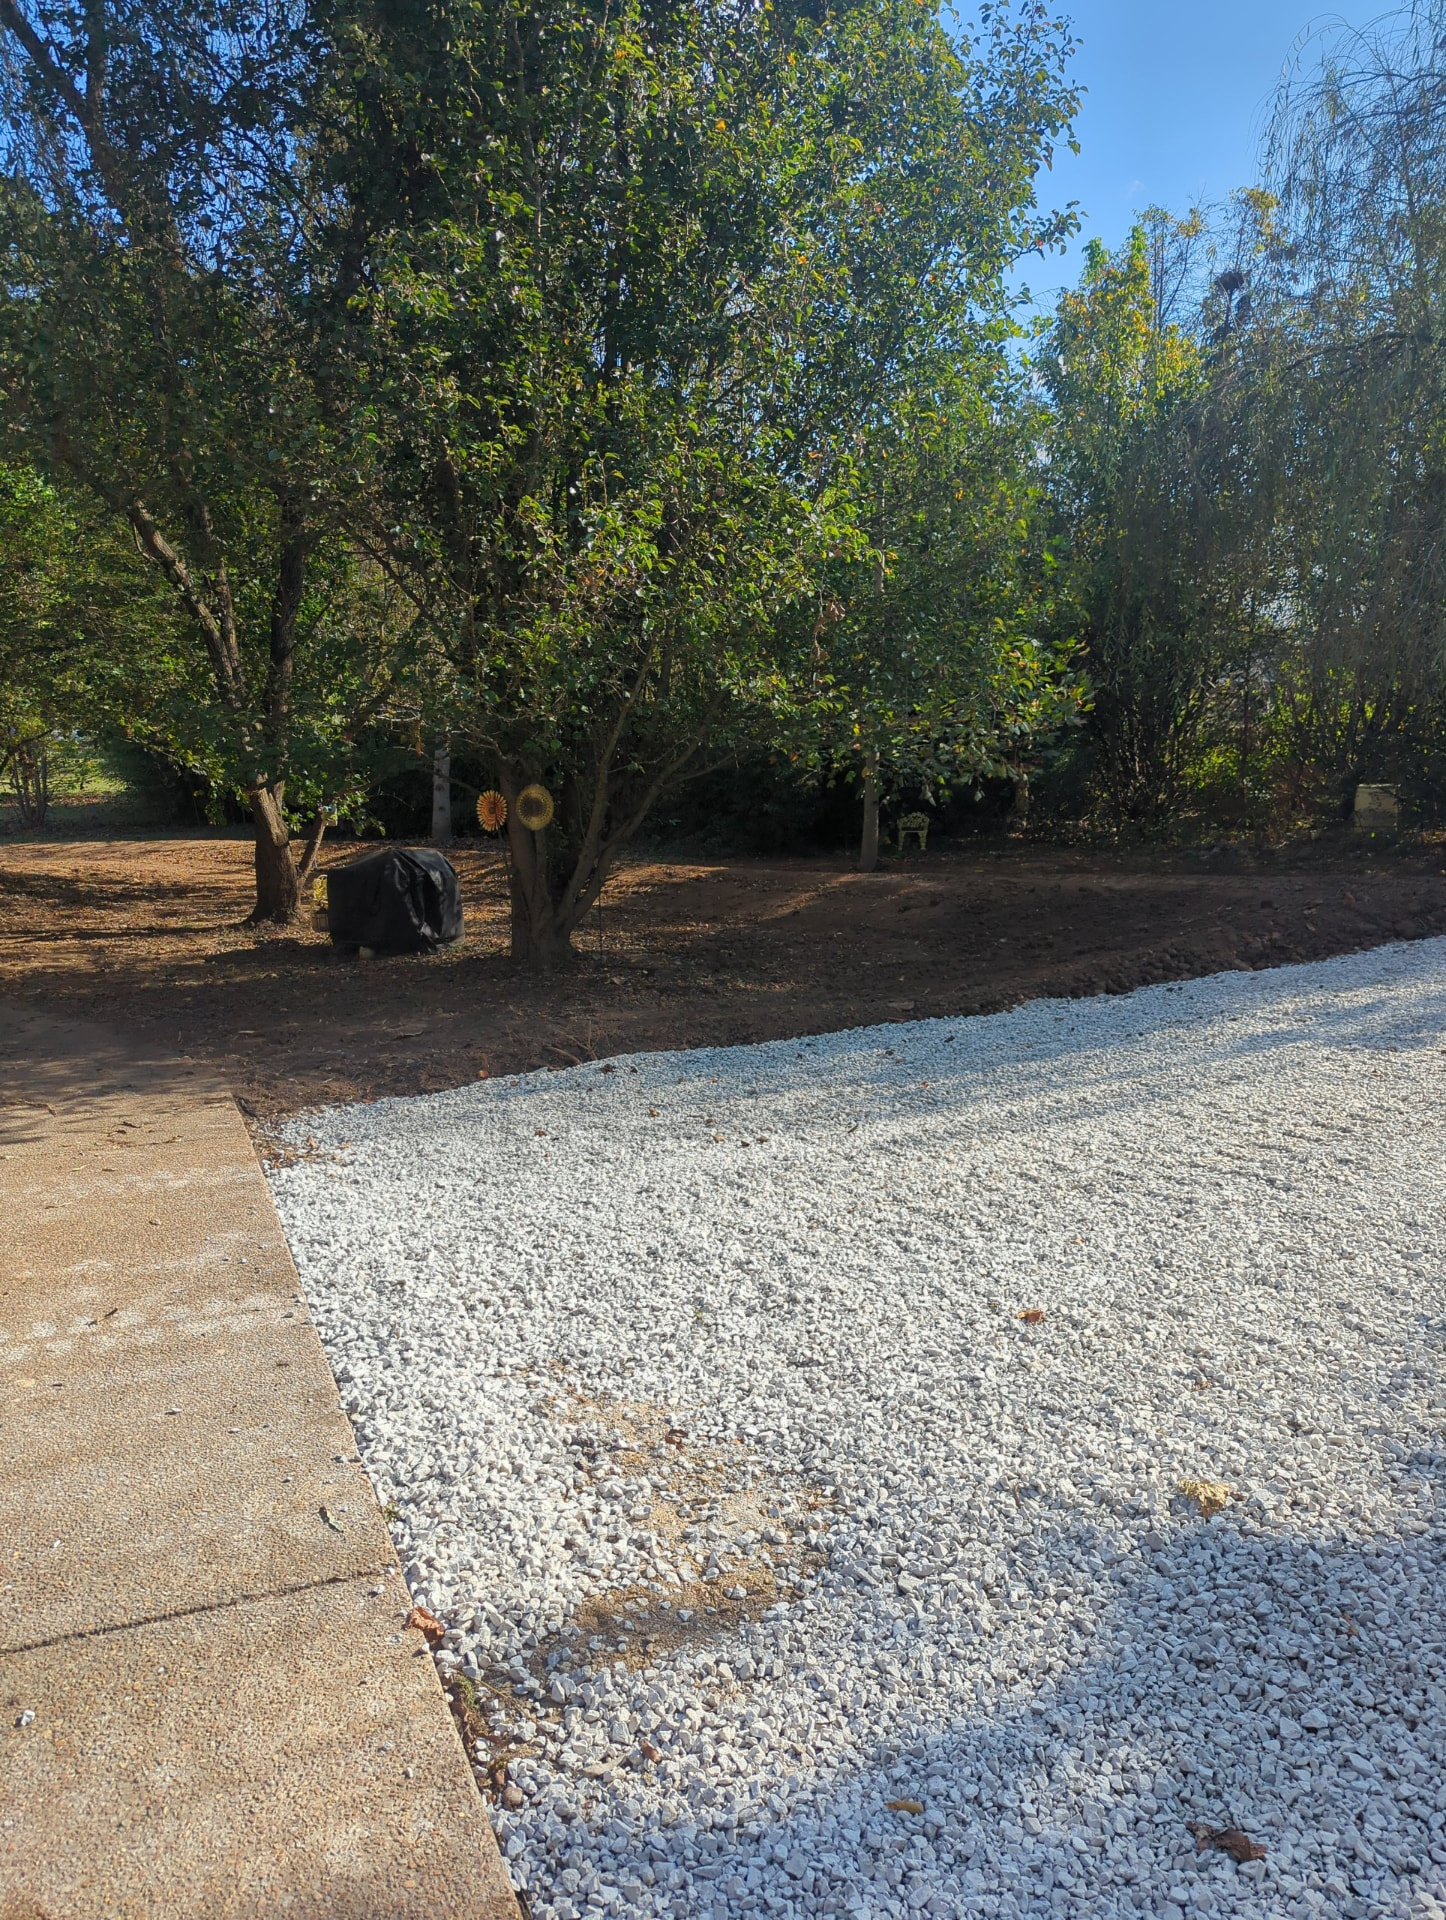
Grading the Inside of the Property Line
Diverting outside water is only half the job. The property's own stormwater still needs somewhere to go, so we reworked the interior yard surface drainage to carry water away from the home at approximately 1 percent positive grade — enough fall to move water without creating a visibly sloped yard.
Together, the berm, the raised driveway, and the interior grading mean that water coming from behind the property is directed around the home, and water falling on the property itself is carried away from the house rather than toward it.
We needed the driveway to do two jobs at once: give the homeowners a solid place to park, and act as the high point that stormwater is diverted around.
Treating Stormwater as a Whole-Property System
This project is a good example of how I approach grading and drainage on sloped lots: the individual problems — water in the house, a failing driveway, a wet side yard — were all connected by the way water moved across the property.
Rather than treating only the visible symptom, we shaped the property's high points and drainage paths so the water is managed before it reaches the house. The result is a raised driveway that looks clean and drives well, a stabilized berm along the property line, and interior grading that moves water away from the home.
We've completed similar work nearby — see how we handled driveway erosion and berm protection in Columbia, TN, or browse other drainage and grading projects in Spring Hill, TN.
The completed work combined
- ■Approximately 60 ft of driveway reconstructed as a raised crossing
- ■Center raised roughly two feet, with driveway grades kept below approximately 8 percent
- ■Approximately 150 feet of earthen berm — about 75 feet on each side of the driveway
- ■Approximately 70 cubic yards of topsoil placed
- ■Approximately 55 tons of stone used
- ■Interior yard surface drainage reworked to approximately 1 percent positive grade
- ■Berm stabilized with tall fescue and a double-sided straw erosion-control blanket
- ■#57 stone finish prepared for the homeowner's future concrete driveway
A Property Shaped to Protect the Home
The finished project gives this Spring Hill home a completely different relationship with stormwater.
Water coming down from behind the property now hits a stabilized berm and a raised driveway crossing and is diverted around the home instead of through it. Water that falls inside the property line is carried away at a consistent positive grade. And the homeowners have a clean, functional #57 stone driveway, ready for their future concrete pour.
The visual result matters, but the improvement that matters most is what the shape of the property now does during a storm: outside water stays outside, and inside water has a defined way out.
Water doesn't need to reach the house before it becomes a drainage problem.
If stormwater is crossing your property, ponding against your driveway, or finding its way toward your foundation, I'll walk the property with you, trace where the water is coming from, and shape a plan around how your land actually handles water.
Frequently Asked Questions
Learn more about this type of project in our Frequently Asked Questions.
Visit our Frequently Asked Questions